Customization
CustomizationUsing Customizer
How to Change Site color Scheme
1.To change site’s primary color go to Appearance > Customize > Site Color Scheme and choose the color.

2. Now, Choose the color that fits your need by selecting the color after clicking the Select Color button.

How to Change the Logo
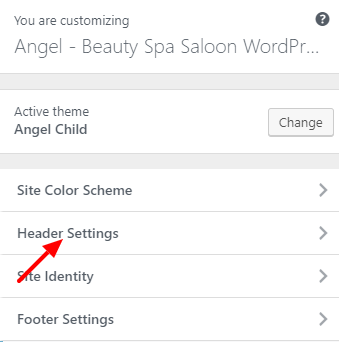
1. To change the logo go to Appearance > Customize > Header Settings.
2. click Select image and upload the image you want to use as your logo.

How to Make the Header Sticky
1. To make your header sticky go to Appearance > Customize > Header Settings.

2. And now, check the Sticky Header checkbox.

How to Change the Site Title
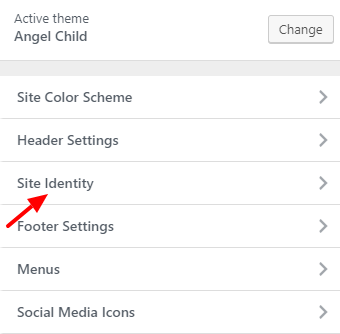
1. To set the site title go to Appearance > Customize > Site Identity.
2. Now, type in your site’s title in the Site Title input. You can also type in a tagline below to set your site’s tagline.

How to Change the Site Icon
1. To change the Site Icon go to Appearance > Customize > Site Identity.

2. Now, Click Change image and upload the image you want to use as your site icon. We suggest to use an image that has a dimension of 512 by 512 pixels.

CustomizationUsing Elementor
How to Use Custom Angel Elements
Our custom elements are located at the bottom of the elementor panel. To add any element used in the theme just drag and drop it in the page.

How to Customize Angel Elements inside elementor
1. To Customize any element used in Angel Theme click on the element and then you will have your customization options in the elementor panel.

2. Next, click on the item you want to edit. You can even add or delete items here.

3. And now you can edit images or any other contents here.

Plugins SetupUsing Dashboard
1. Go to Appointments > Settings for setup Booking and book time slots of the Booked Calender plugins.

2. Go to General > Choose Guest Booking, Choose Booking Options, Guest Booking Options, Appointment Booking Redirect etc.

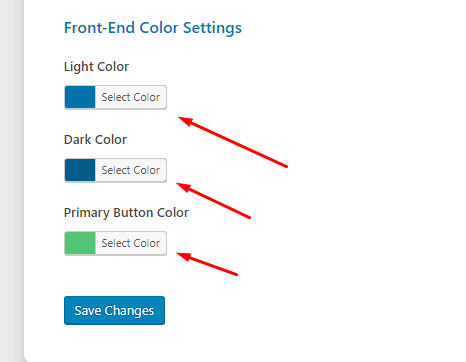
3. Here you can choose Front-End Color also. Then Hit Save Changes Button
4. Go to Time Slots > Now Setup Daily Time Slots for a Week by using Bulk. Set as you want or your demand.
